Introduction:
As this is an in-depth case study, it has been divided into three separate pages to ease download time. This first page considers the preparation work, including setting-out, masking-off and cutting of the tactile units.
The following page looks at the mixing of the adhesive and the actual placement of the tiles, while the final page documents the finishing work and provides links to further sources of information.
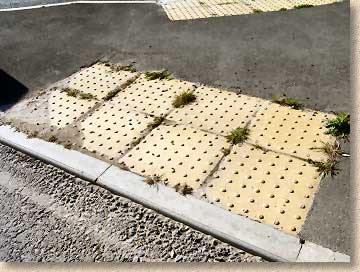
The installation site, a newly-developed business park, had previously been fitted with pre-cast concrete tactile units installed as part of the original roads and footpaths construction work some two years previously, but these had suffered due to a poor standard of installation. The 400mm concrete units had, in places, been laid to levels lower than the top of the crossing kerbs, resulting in the accumulation of silt, and lack of pedestrian traffic combined with non-existent maintenance had allowed weed to colonise the paving.
Re-surfacing of the bitmac footpaths had provided the opportunity for new tactile crossings to be fitted and the local authority, impressed with previous installations of the surface-mounted products in their area, decided to use "through surfacing" and surface-mounted tactiles as a replacement for the previous systems.
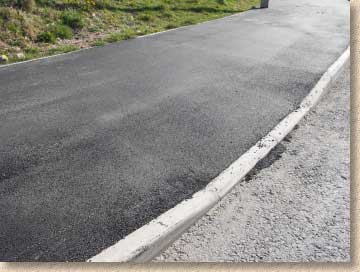
The footpaths had been surfaced with a 6mm dense bitmac some weeks previously. One of the great advantages of surface-mounted tactiles is that they allow the contractor to surface or pave through without having to work around a panel of pre-installed tactile units, thereby reducing inconvenience and, for those footpaths that are open to pedestrians, there is no trip hazard at any time: the footpath can be used from the moment the surfacing/paving is complete and only a 2-4 hour period is required to fit the surface-mounted tactiles.
The site layout is such that the crossing on which work will be carried out has a kerbline that is exactly transverse to the direction of travel, and so the tactile can be fitted square to the kerb, with no need to have them cut and positioned at a skewed angle.
Preparation
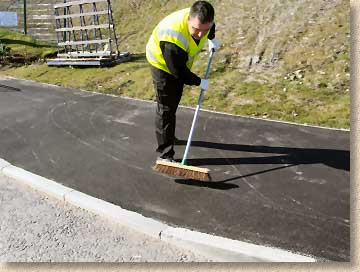
On new sites, such as this, minimal preparation is required: the area is simply brushed to remove any loose material and dust. Older sites, those that are dirty, or those that have a layer of surface dirt will benefit from being power-washed prior to installation. The moisture-tolerant adhesive supplied by the manufacturer enables the tactiles to be securely fitted to damp and/or recently cleaned surfaces without having to wait for complete drying.
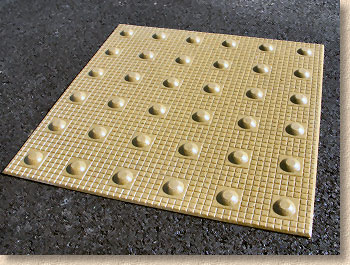
Once the site has been cleaned, the next task is to lay out the tiles in the required formation to determine just how they should be positioned and whether any cut pieces are required.
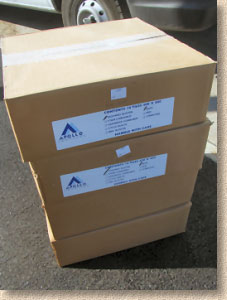
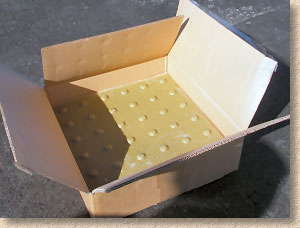
These particular surface-mounted tactiles are supplied in boxes of 10 (1.6m² per box), with each box being accompanied by a resin pack that includes sufficient adhesive to cover at least 1.6m². Both tiles and adhesive were also available individually.
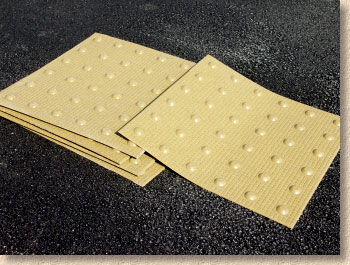
Despite their good abrasion resistance, surface-mounted tactiles are quite flexible, even on cold days, and this allows them to follow the contours of the substrate, even where there are significant changes in gradient, as there often are at or near transition kerbs at a pavement edge.
Setting Out
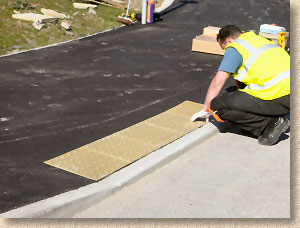
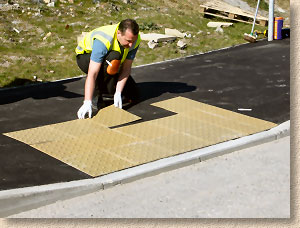
The tactiles are carefully positioned as required, starting at the kerb and working back. On skewed crossings, the tiles would be aligned to a base line and allowed to overhang the kerb prior to being cut to shape as required.
Notice how the tiles have been aligned with a full tile positioned precisely at the lower end of the dropper (transition) kerb on the left hand side, and that the requisite 1200mm wide "leg" of units is extended towards the rear of the footpath aligned to that left hand edge. This is a standard set out for uncontrolled crossings.
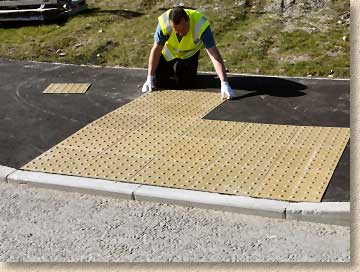
This arrangement results in there being a slight 'overlap' of units on the right hand side of the crossing. These units will be cut to size, but, for now, the full units are placed to ensure an accurate fit, and the tiles to be trimmed will be marked once all the units are in position.
Cutting to fit
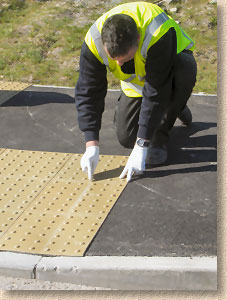
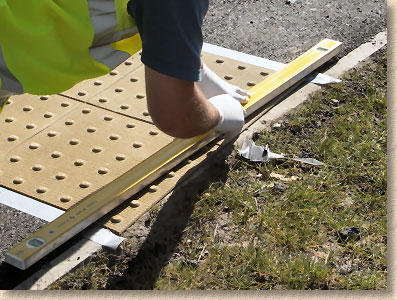
Once the tactiles are in position, any cuts can be marked using a Pavers Marker or a pencil. For orthogonal cuts, the grid patterning on Tactiles is a useful guide to marking a straight line, but for skewed cuts, it's best to use a straightedge as a guide.
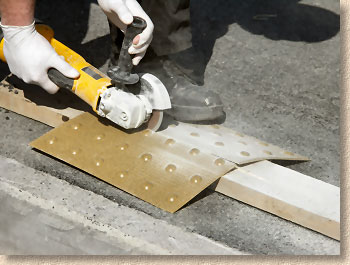
An angle grinder or cut-off saw fitted with a diamond blade should be used to cut this type of Tactile paving. The extremely hard aggregate content combined with the specially toughened resins will ruin a standard abrasive blade, and a handsaw is unlikely to make much of an impact.
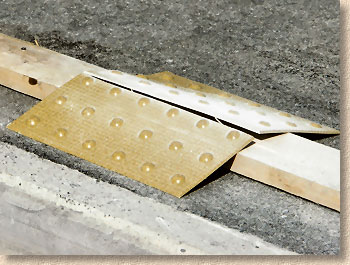
The tactile to be cut is placed onto a board or timber and held securely in place, while the operator, wearing suitable hand, eye and dust protection, draws the blade of the saw along the cut mark, slicing the unit down to the required size.
Masking Off
The next task is to mask off, using Duck Tape ® or similar to cover the substrate at the edges with the intention of preventing the adhesive resins spreading onto the non-tactile surfacing.
The cut units are re-placed to aid accurate positioning of the masking tape.
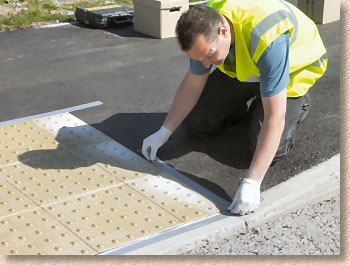
Rather than roll out a long, continuous length of tape, the installation operative, who has several years experience in fitting Surface-Mounted Tactiles strongly recommends using shorter, 600mm-ish lengths of tape, as this ensures the line of masking is straight and true and less prone to looking like a dog's hind leg.
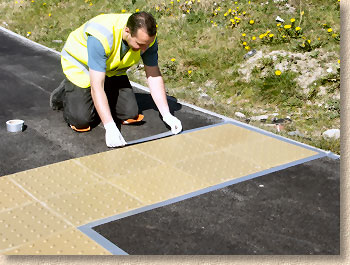
Note how the entire perimeter, including the kerb and the back edging, are masked off to ensure they remain adhesive-free and clean.
Once the masking is complete, the tactiles can be removed and placed a convenient distance from the working area where they can be reached by the installation operative without the need to stand up.
The masking tape is checked to ensure it is firmly in place, with no loose sections that might allow adhesive to flow beneath the tape. The surface is checked again for loose material and swept to remove any dust that might have blown in or been carried onto the surface during the previous tasks.
