Introduction:
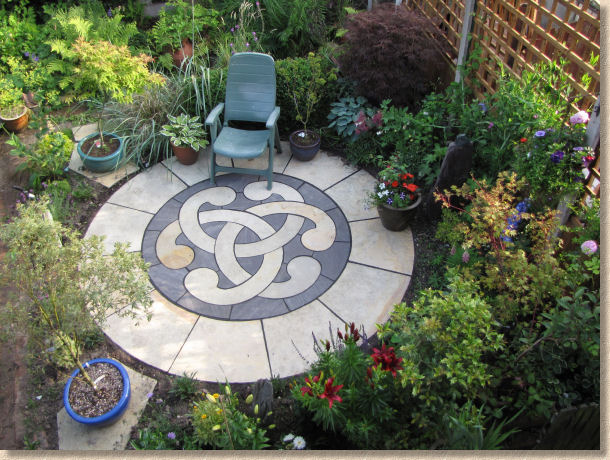
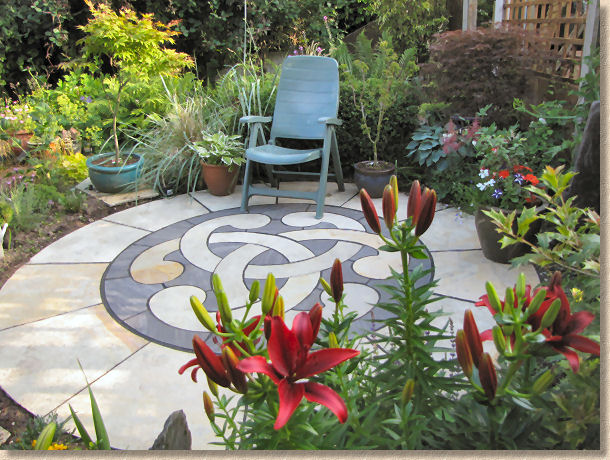
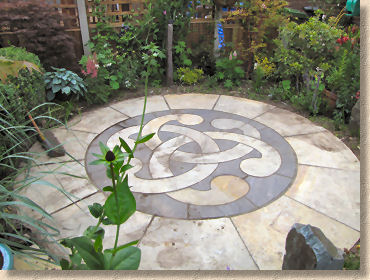
The previous page followed the step-by-step installation of the Celtic Knot circle feature in March 2009 and this page shows how it looks some three months later, when the soil has been replaced and the new plants given a chance to establish themselves.
Obviously, re-creating the garden setting around the circle resulted in the paving becoming covered in soil and all sorts of other garden detritus, so prior to having its 'official' photo taken, it needed a quick wash-and-brush-up. While power washers are not recommended for use with patios where a traditional sand/cement mortar has been used, the resin mortar used to fill the joints on this patio are more than capable of withstanding the attention of those who suffer from "Karcher Syndrome", the uncontrollable compulsion to power wash anything that doesn't move, plus the neighbour's cat.
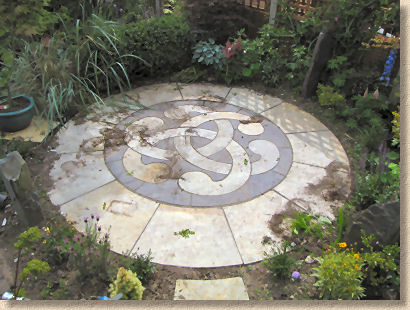
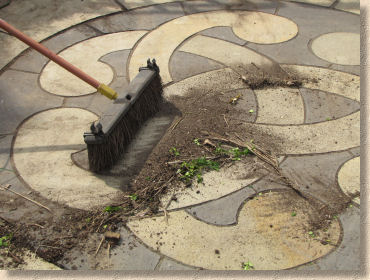
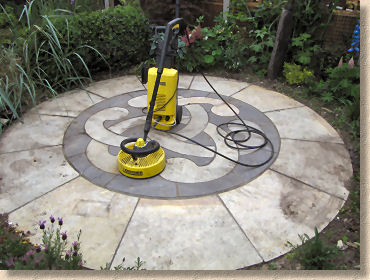
So, the first task would be to clear the area of sundry pots, patio furniture, pets and other obstructions, and then sweep clean the area using a soft brush to remove any loose material such as dirt, leaf litter, box hedge clippings and so on.
All domestic-grade power washers feature a basic 'lance' which delivers a powerful jet of water which is then used to blast any surface staining or detritus. However, this jet poses a couple of problems when it comes to cleaning pavements. First of all, the water jet often 'etches' a cleaner area onto the paving, leaving those parts of the paving not directly bombarded by the jet looking slightly dirtier and making it possible to detect the path of the jet as it was played over the pavement surface. This can be seen in the photograph shown on the Power Washing page.
Secondly, and more importantly, a direct jet of water can (and does!) damage both the surface of the paving and will force out any jointing material that is in any way less than sound, intact and well-and-truly fixed in position.
Luckily, there is an attachment known as a Rotary Head Cleaner that attaches to the end of the lance and operates in such a manner that both of the potential problems mentioned above are minimised. The Rotary Head Cleaner achieves this by delivering the water over a wider area, and at a much shallower angle than is commonly used with a lance.
The Rotary Head Cleaner can be bought as a separate attachment, if not supplied as part of the kit, and fixes to the lance by means of the usual 'Twist-Lock' mechanism. An additional benefit is that the 'head' prevents the removed detritus being splashed all over adjacent walls, fences or planting.
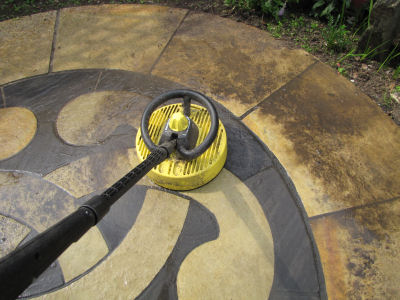
The rotary head is swept over the pavement surface, removing the ingrained detritus as it passes, and all without leaving tell-tale streaks or threatening the jointing in any way. It takes less than 2 minutes to clean the whole area (roughly 7m²) and then a non-powered hose is used to direct the removed silt and muck to one edge of the circle.
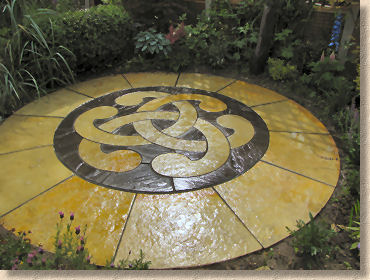
And that's it! It needs half-an-hour or so in the late evening warmth for the surface to dry and the job is complete.
Move a couple of the Japanese Maples back into place, re-position my favourite chair and the results, as you can see below, are simply stunning, even if I say so myself!