Introduction:
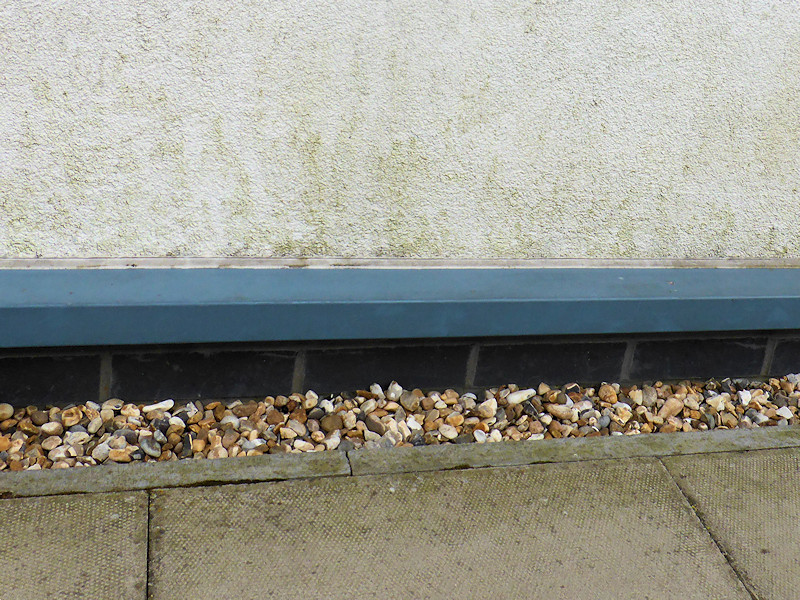
Splash Strips are the narrow band of gravel or shingle often installed in between the paving and the masonry of a house or garage. Somehow, they are referred to as "French Drains" by some - they are neither French nor drains: they are a bodge. They started appearing in the 1970s and the initial suspicion was they were a cost-saving gimmick by housebuilders – instead of laying a 3 feet wide path (we were still struggling with the newly introduced metric system back then) of solid paving, usually PCC flags, the penny-pinchers in the design office, rotated the popular 3’ x 2’s through 90° giving a 2 feet wide path (600mm) with a 1 foot strip of gravel. Still the 1 yard (900mm-ish) path expected for access around houses but using only two-thirds of the flags as previously.
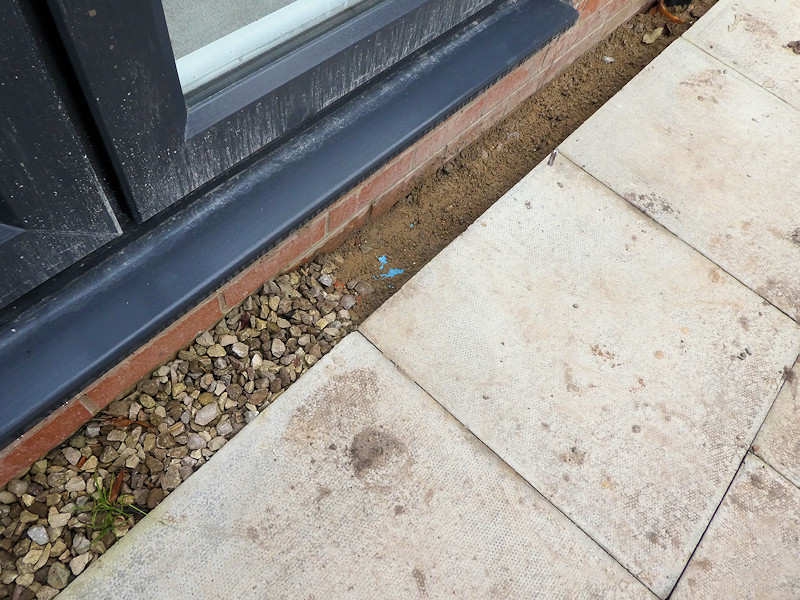
And they explained this away by claiming the gravel was an essential drainage feature, taking surface water from the flags, and directing it to ground. Even better, the loose gravel acted as a barrier to rainwater splashes bouncing up from a hard surface and breaching the Damp Proof Course (DPC), hence the name – Splash Strips.
The strategy also reduced the skill level required of the paving layer. Previously, it was essential for the flags to fall away from the house/garage/wall, to drain away surface water. Once a Splash Strip was installed, the paving could be laid to any old level, as there was an escape route on either side (usually!)
“Ay up!”, thought the canny housebuilders. If we don’t need a skilled flagger to ensure the paving is laid to proper falls, we can use a semi-gormless labourer instead, let them lay the paving any old way, and pay them roughly 30% less than it would cost for a tradesperson. Quids in!
And so Splash Strips started to appear more and more on new builds, and with the disappearance of proper apprenticeships and accredited training, newcomers to the trade sort-of assumed that Splash Strips were the correct way to lay paving close to a house, and so they started appearing on re-lay projects, and patio makeovers.

Nowhere in the Building Regulations is the inclusion of a Splash Strip mandated or even suggested. All that Part C requires is for the external surfaces, which means paving, to be 150mm below DPC, except where access is required at doorways and the like. Yet Splash Strips persist, and too many installers now seem to think they are absolutely necessary.
They’re not. They are entirely optional. Include them if you wish; eliminate them if you can (personal opinion!)
Pros and Cons:
While a properly constructed Splash Strip will do no harm, they do very little good either, but just what are the pros and cons?
Pros:
- Aid drainage of surface water from paving
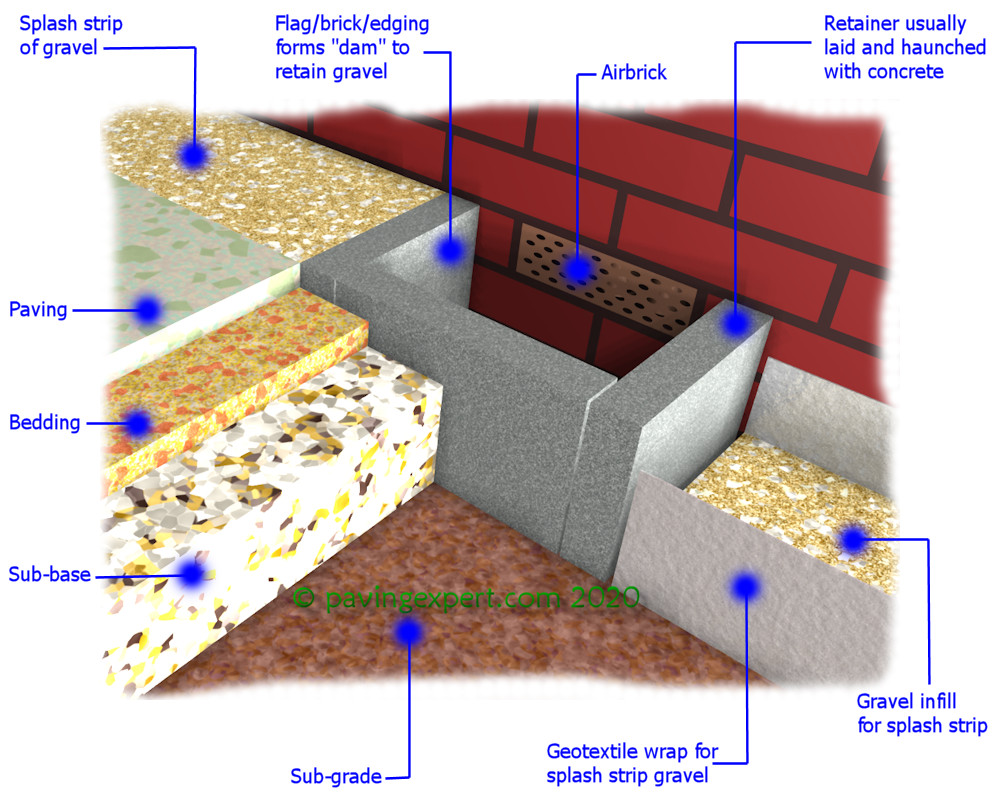
- Allow limited ventilation of sub-surface masonry
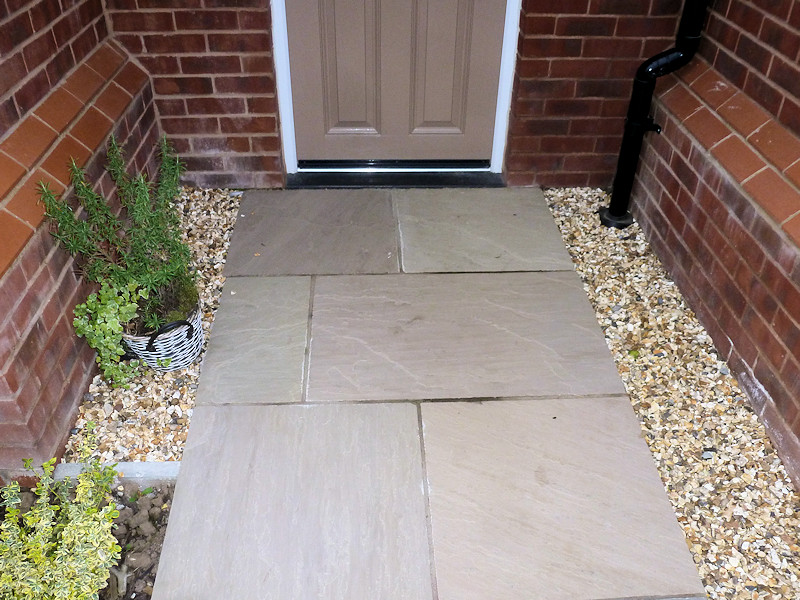
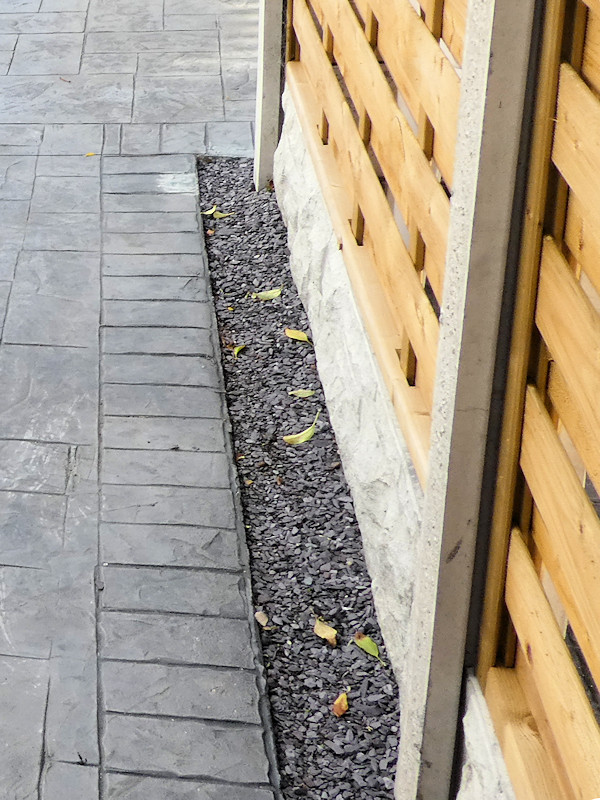
- Can introduce an attractive contrast texture/colour
- Mask any cracking of jointing between paving and masonry in the event of settlement
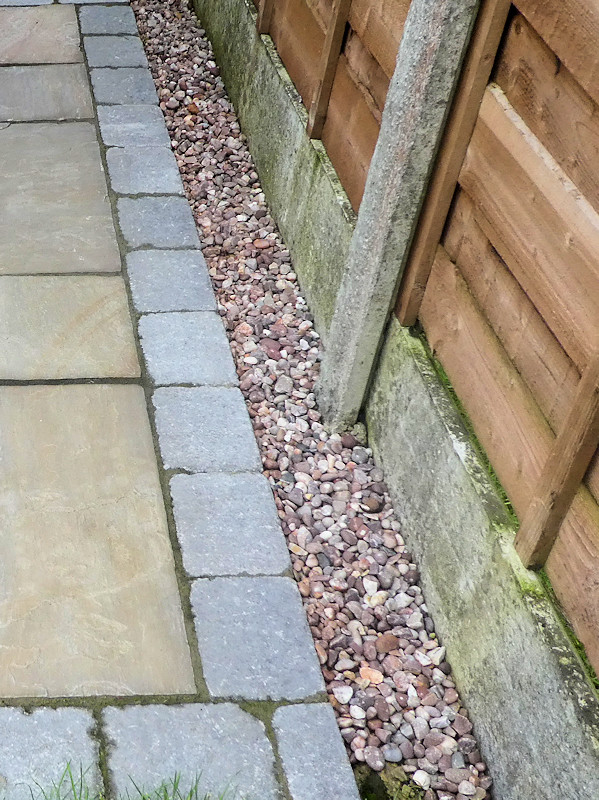
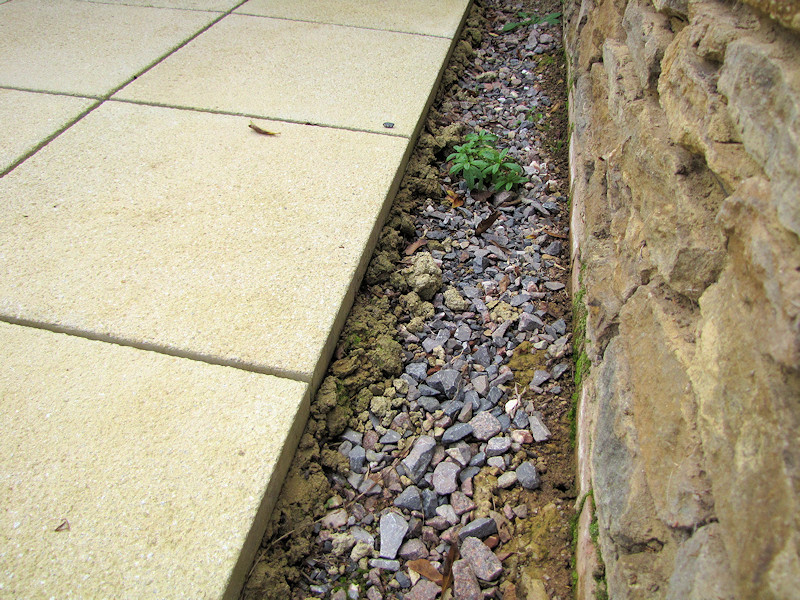
- Useful when paving abuts irregular boundaries such as rough stone walls, fence and the like.
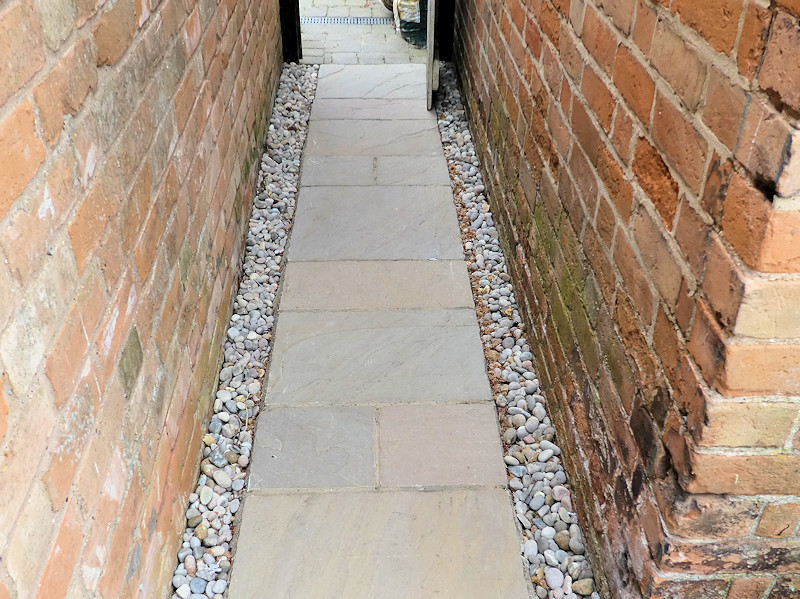
- Useful in narrow ginnels or alleys where drainage could be a problem
Cons:
- Allow inundation of the ground directly adjacent to sub-surface masonry
- Rarely are they properly constructed
- Tend to collect litter and detritus that can be difficult to clean
- Children love to transfer gravel into gullies and hoppers
Construction:
What tends to happen:
On new-builds, the trench used to accommodate the footings of the building are often backfilled with any rubble, excavated material, empty plaster bags, polythene wrap from brick packs, bits of timber offcuts, crusts from brickies’ lunchtime sandwiches, a sprinkling of the Lucky-Dip SF2, and probably some old sand.
The groundworker throws down a blinding of crushed aggregate, whatever is cheapest locally, over the backfilled footings and anywhere else paving is to be laid runs a plate compactor over it all a couple of times, and then lays the paving, keeping it anywhere from 100mm to 300mm away from the vertical masonry.
The resulting Splash Strip is then dressed with whatever cheap gravel or shingle is available locally.
On make-overs:
The excavation phase often leaves behind a strip of whatever paving or surfacing was there previously, taking off just the top 30mm or so, and then digging down as necessary everywhere else to accommodate a sub-base for the new paving. Once that sub-base is in, the paving is laid, with the requisite gap to the building, a similar sprinkling of gravel or shingle is applied over the skimmed-off splash strip.
An even worse scenario occurs when the paving is laid on a mortar or bound bed and the bedding is allowed to spread all the way to the masonry. Maybe the intention is for the excess, in place where the Splash Strip will go, to be scraped out before it hardens, but all too often that doesn’t happen, and what is left behind is a solid slab of mortar or concrete to act as a base for the eventual gravel surface dressing.
The problem with all of these scenarios is the failure to ensure that the splash strip is actually capable of dealing with any surface water directed into it.
Yes: some sub-bases are permeable-ish, and water finding its way into the strip will sort of find its way out again, but it’s all a bit hit and miss.
With the make-over scenario, there’s no certainty at all about whatever was left behind of the sub-grade. It could be heavily compacted earth, clayey topsoil, a bit of almost anything.
As for the mortar/concrete base, again it probably is just-about permeable, but it will, at the very least, impede the free dispersal of collected surface water.
Proper Job:
If a Splash Strip is to be used, then it should be constructed by design, not happen by chance.
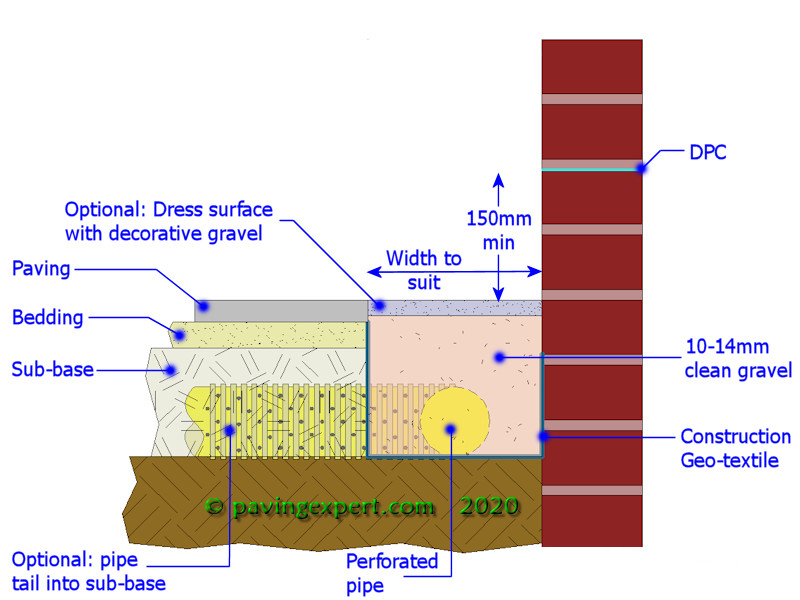
The ‘strip’ should be dug out to at least the level of the bottom of the sub-base layer, or 300mm below DPC, whichever is greater.
The resulting channel could be lined with a construction grade permeable geotextile, if desired. It’s not essential but it does help keep the gravel clear of silt and clay particles migrating inwards from the sub-grade.
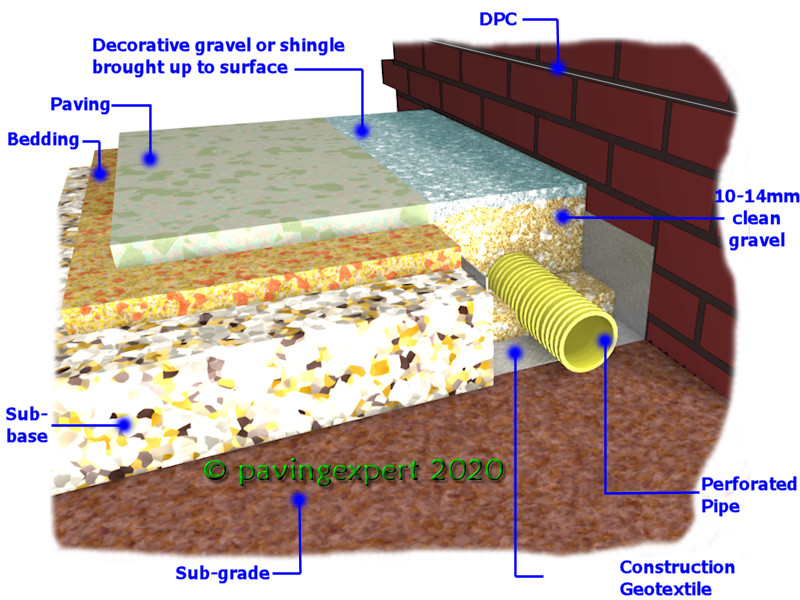
A flexible perforated 80mm diameter land drain pipe should be laid at the base of the channel, connected to any convenient outfall point, such as a hopper or rainwater pick-up.
The channel should then be filled with a *clean* 10-14mm gravel or shingle The top can be dressed with larger pebbles, cobbles or other selected loose aggregate, such as, say, slate chippings, giving a more attractive look and making it easier to use a leaf blower to clean detritus from the surface.
It’s a small amount if additional work, but, if a Splash Strip is going to be included in the design for a new patio, pathway or driveway, it might as well be one that actually functions.
Construction Drawings: