
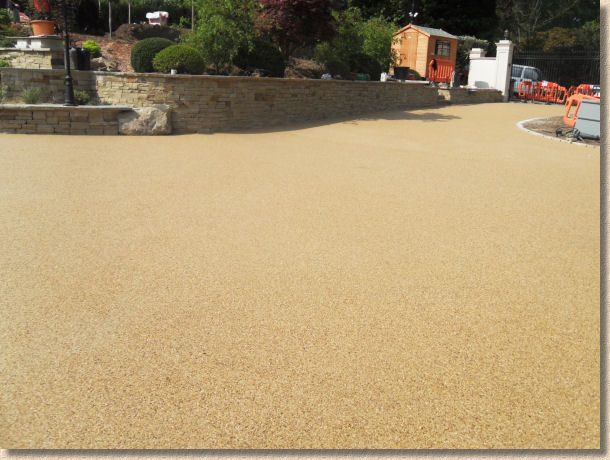
The previous page considered the advantages of a resin bound surface and looked at the wider picture. On this page, the actual installation of trowelled resin bound surfacing, specifically the highly respected SureSet products, is examined in more detail.
Construction
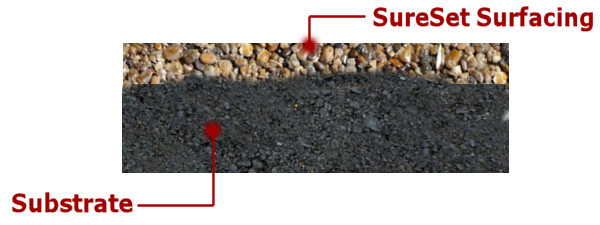
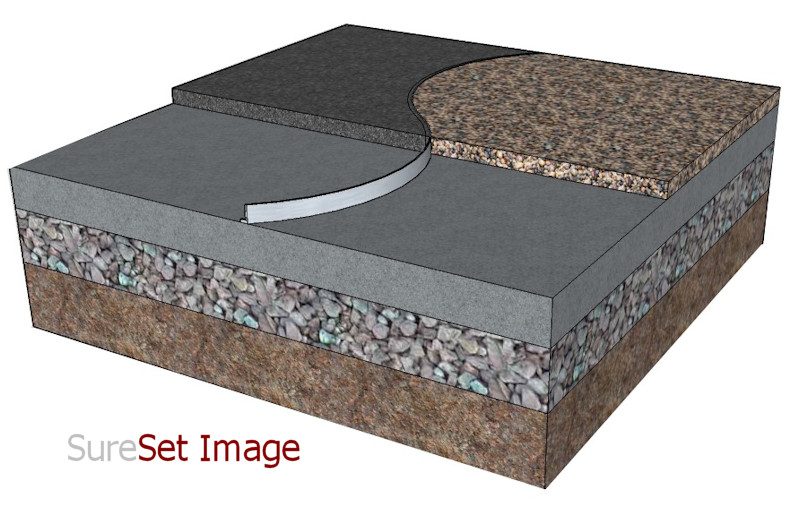
Resin bound paving is a wearing course, or, as we now have to call them, a "surface course". It's a self-contained layer that is laid over a suitable base.
The basic premise is that the selected aggregates are mixed together with the resins and then spread, levelled and compacted over an existing surface to create a decorative surface that is exceptionally hard-wearing. The base, which is also known as the 'substrate' needs to be firm and sound, and because resin-bound surfacing is at least 12mm in thickness, there needs to be some form of 'edge restraint' to contain the surfacing.

The Base:
The base, or substrate, is essential in providing the strength and load-bearing capacity of the pavement, and so a number of typical bases are used, depending on the planned application. For Pedestrian and low-speed occasional traffic use (driveways) a minimum 50mm compacted thickness of 14mm or smaller sized dense or close-graded bitmac is the preferred substrate. This substrate will need to be laid over a prepared sub-base - fuller details of bitmac/asphalt bases are given on the Bitmac Construction pages of this website.
For heavier applications, particularly for vehicle overrun areas or tree pits, SureSet will be able to recommend a suitable base.
The substrate is laid in advance by a specialist blacktop gang. The usual standards for bitmac construction are followed and the completed substrate should be firm and laid to levels within the accepted tolerances for the type of substrate material that is used.
As the SureSet Resin Bound surfacing is a full thickness layer, any minor deviation in the surface level of the substrate can be regulated with the resin bound material. Obviously, significant dips or low spots covering larger areas should be regulated with bituminous material, in order to achieve best values from the resin bound material.
Edgings
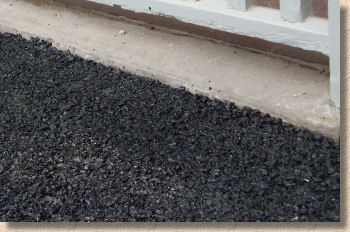
Resin bound surface courses are generally at least 12mm in thickness therefore some form of edge restraint becomes essential. Where edgings or kerbs are being used, the base course material can be left slightly low to accommodate the surfacing, but where no edging is present, it may be necessary to install a small edging-like strip, such as the aluminium edging shown below, to provide a working edge for the surfacing. These edgings are normally laid by the blacktop surfacing gang prior to the arrival onsite of the specialist resin bound surfacing team.

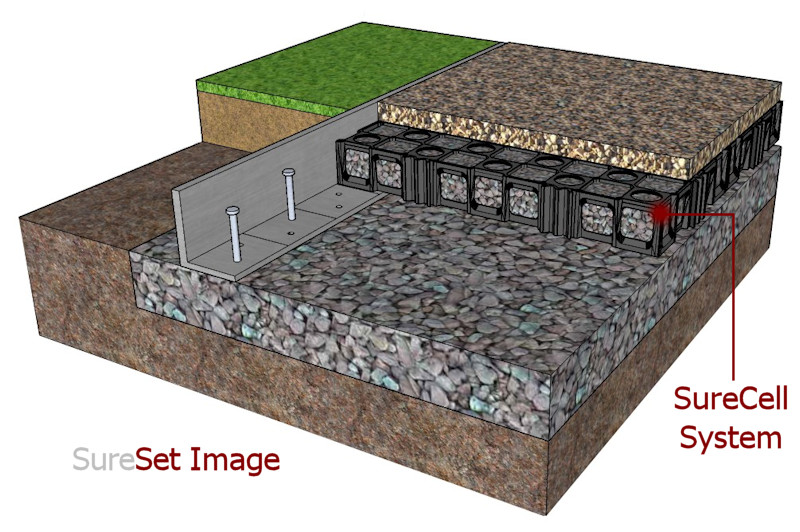
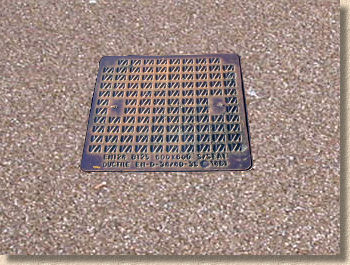
Access Covers
Access covers such as Stop Tap boxes, Manholes, Cable Ducting Covers and the like will need to be left 'proud' of the base course layer. Where a new base layer has been laid, this is easily done as part of those works, but when an existing surface is to be overlaid, it will be necessary to 'lift' the covers, by breaking them out and re-seating them to an elevated level roughly 10mm or so above the base layer.
On projects where such accommodation works are necessary, then they should be done at least 24 hours before the resin bound surfacing is due to be laid to ensure adequate time for any bedding mortars and patch repairs to cure/harden.
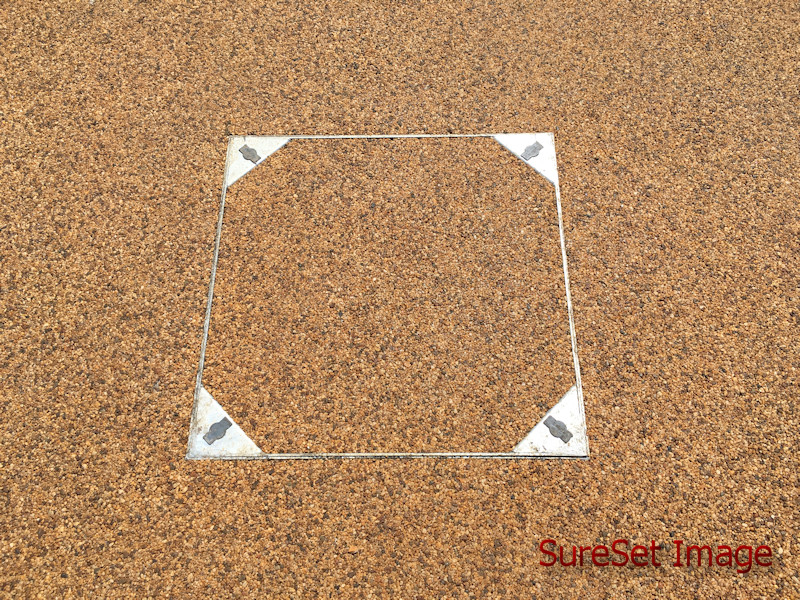
An alternative and possibly more aesthetically pleasing approach would be to replace existing access covers with recess tray covers which can then be in-filled using the resin bound material. This helps render the covers less immediately visible within the streetscape whilst maintaining accessibility.
Most recess tray covers tend to be 80mm or more in depth and so can be partially filled with concrete or bitmac and then simply have the topmost 12-20mm or so surfaced with the same resin bound material as is being used to surface the rest of the area.

The Resin:
The SureSet resin mixes two components with a hardening agent. The amount of hardening agent added to the blended resins is varied to adjust the working time of each batch. Working times can be varied from a few minutes up to 80-100 minutes depending on the complexity of the project.
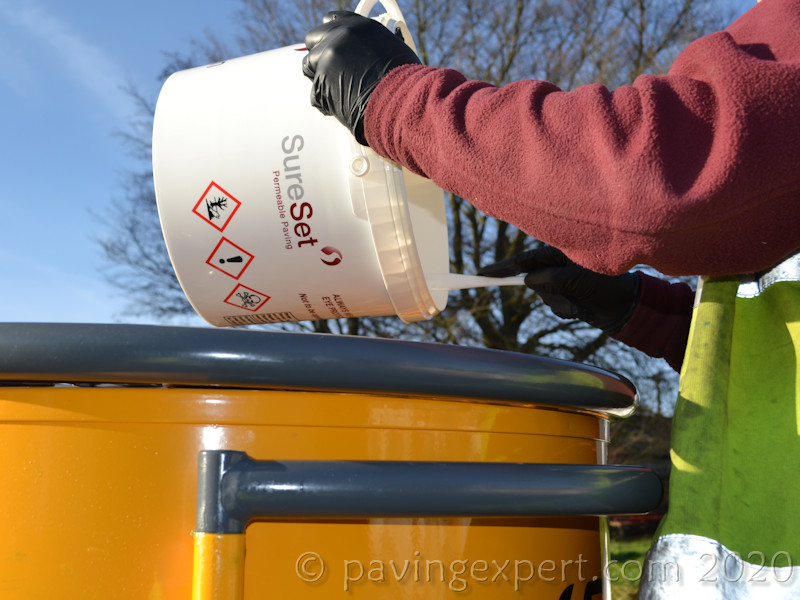
The hardener is carefully added to the resins before mixing with a high speed paddle attached to a drill or other suitable power source. Thorough mixing is essential to ensure full distribution of the hardener through the resins so that curing time is equalized when the resin is added to the aggregates.
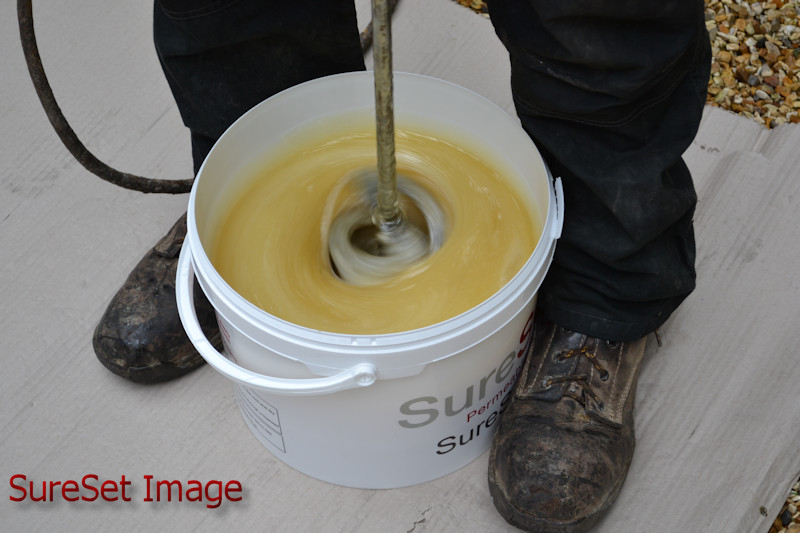
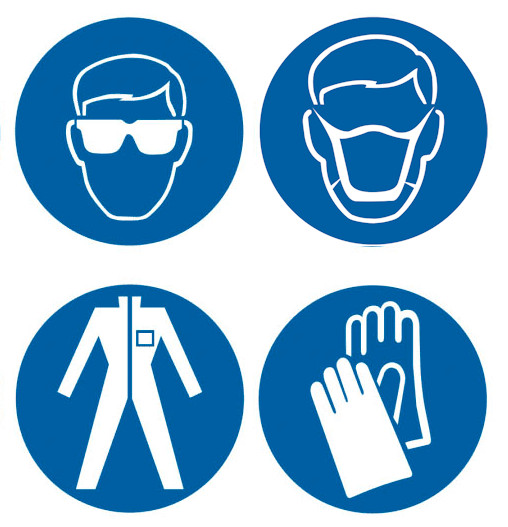
Safety Note: Once cured, the resins used in the SureSet surfacing present no hazard other than a danger of inhalation if the surface was to be burned or used as a base for a fire. Before curing, the resins present a small risk from inhalation and exposure to skin and eyes, and so it is imperative that appropriate safety equipment is worn when handling the resins, including eye protection, gloves and suitable overalls.
Ever at the forefront of machinery developments and resin technology, SureSet now have some of their installation team vans fitted with fully automated resin mixing equipment known as an "EcoBatcher". This equipment has been specifically designed and manufactured to SureSet's exacting specification to ensure precise quantities of both resin and hardener are perfectly blended to provide optimum performance and minimum wastage for each of the expansive range of SureSet aggregate blends, and reduce the reliance on single-use plastic buckets for storing the resin binders.
The resin and the hardener are stored in secure industrial containers within the specially kitted-out vans. Fully-enclosed feeder pipes deliver the raw materials from the spill-proof containers to the blending machine which is towed along behind the van, whereupon millilitre-exact dosing equipment feeds both components into the mixing chamber in which they are thoroughly integrated for the ideal period of time before being pumped on through the outlet pipe and added directly to the forced action mixer to be combined with the selected aggregates.
Mixing:
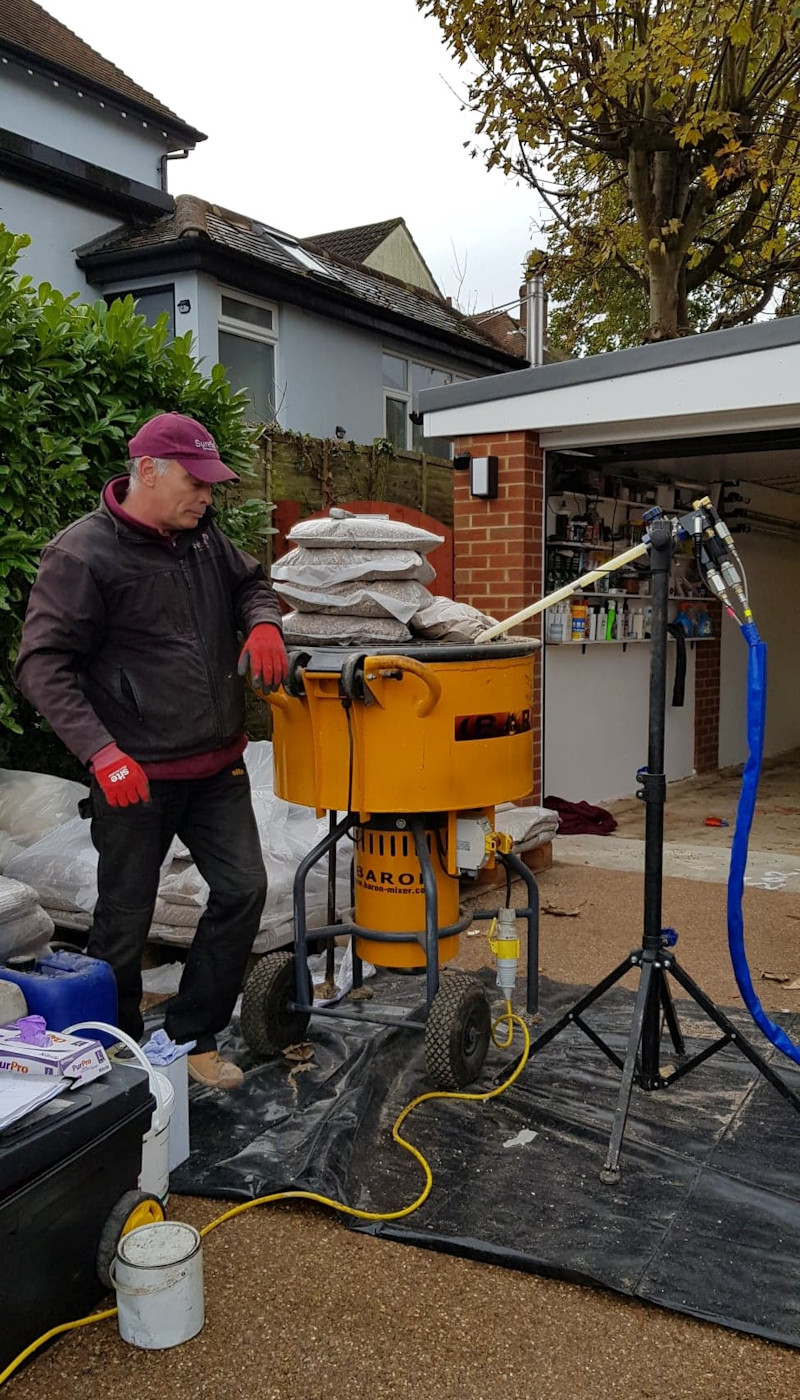
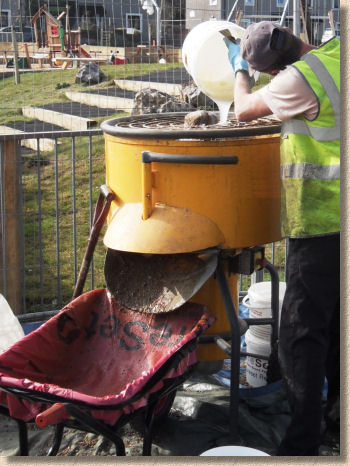
When the resins have been mixed, the selected aggregates are added to the pan mixer, agitated by the paddle and then the resin mix is added.
SureSet prefer to use electronically powered forced action mortar mixers although petrol and diesel mixers have also been used. Whichever mixer is chosen it is essential that it operates to give a consistently well mixed product.

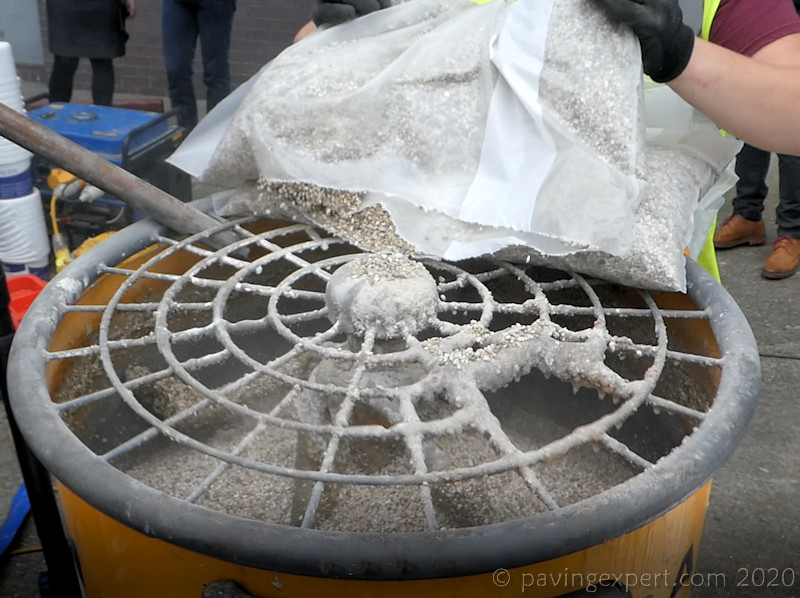
The aggregate comes pre-packed in weighed bags, so that a precise amount of aggregate can be added to the mixer for each batch. Although a single aggregate could be used, it is also possible to mix (or 'batch') different aggregates to achieve a blended look.
The SureSet system is a Cold Mix & Lay Process - no heat is required or generated during the mixing and laying process.
The aggregates and the resin are stirred for approximately 2 minutes, to ensure the resins are evenly distributed and the aggregates are fully coated.
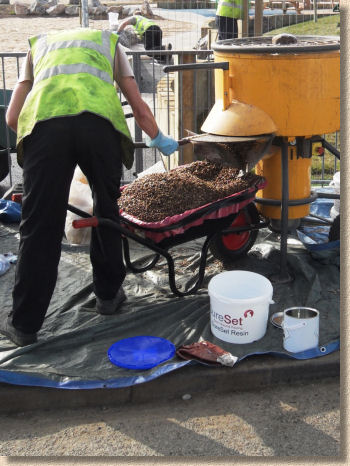
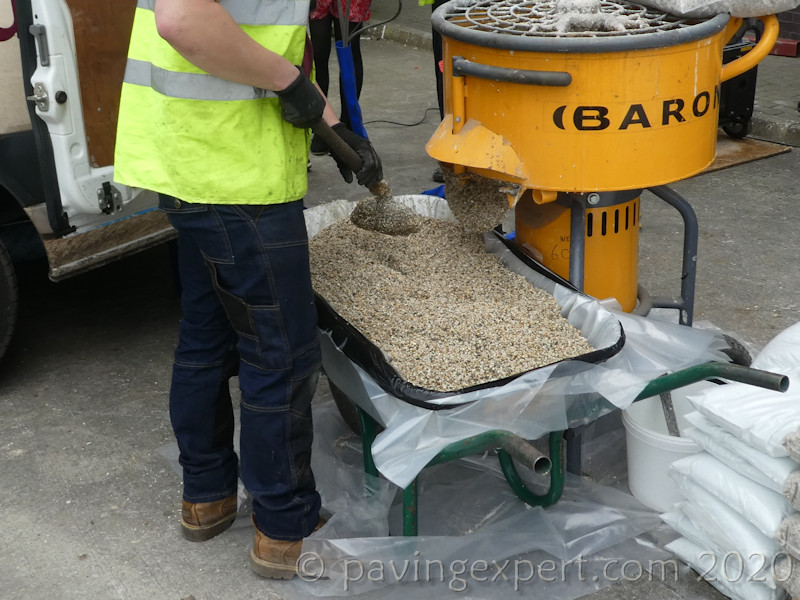
When the operative is certain the mixing is complete, the resin-coated aggregate is discharged into lined wheelbarrows via the hatch built into the mixer unit.
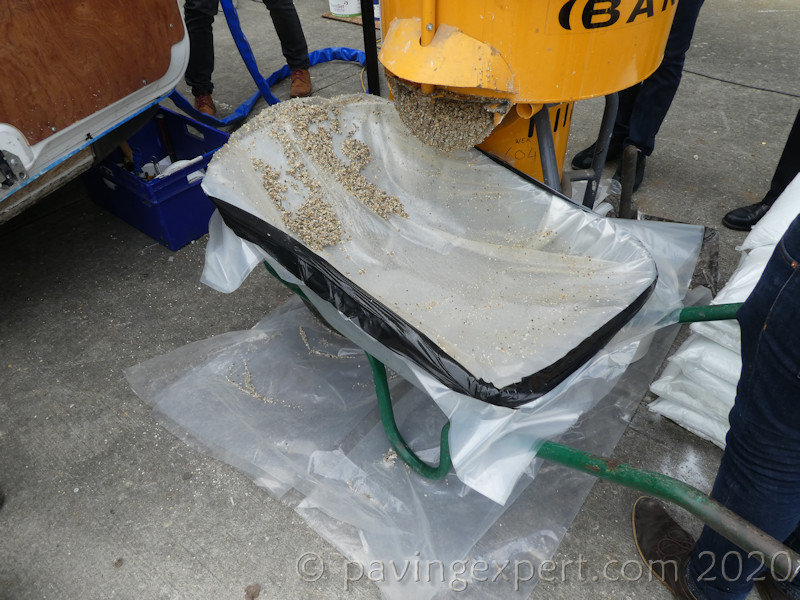
Note that the wheelbarrows are lined with polythene. This is done not only to prevent a build-up of resinous material accumulating on the skip of the barrow, eventually rendering it worthless, but also to prevent aggregate from different jobs or different colour blends contaminating the current mix. At the end of each batch of colour, or at the end of the shift, the polythene line can be stripped from the barrows and binned, leaving the barrow ready for the next job.
Laying Method:
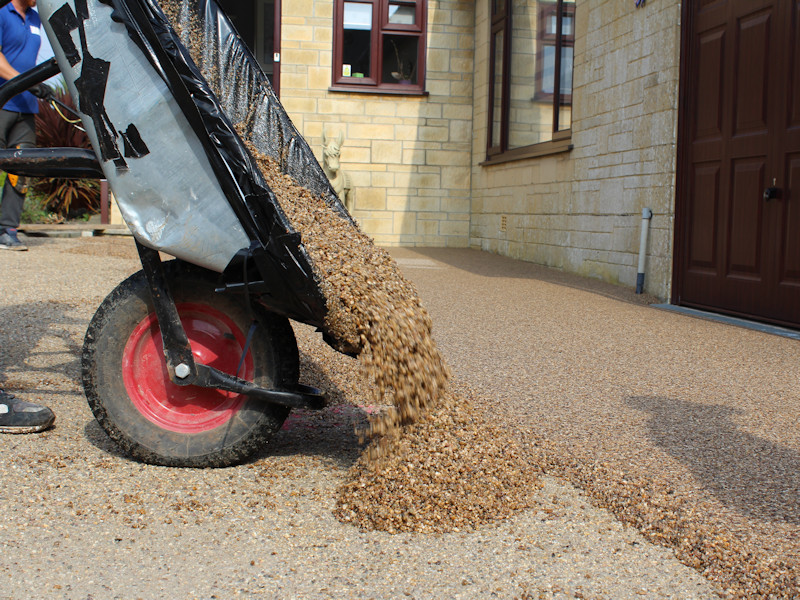
As soon as the resin coated aggregates have been discharged, they are delivered to the laying site and distributed by shovel over the prepared base. Note that a primer is not usually required as the adhesive qualities of the SureSet resins are more than adequate to ensure a firm and permanent bond to the substrate.
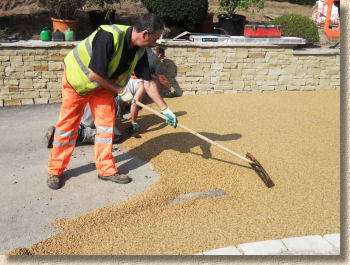
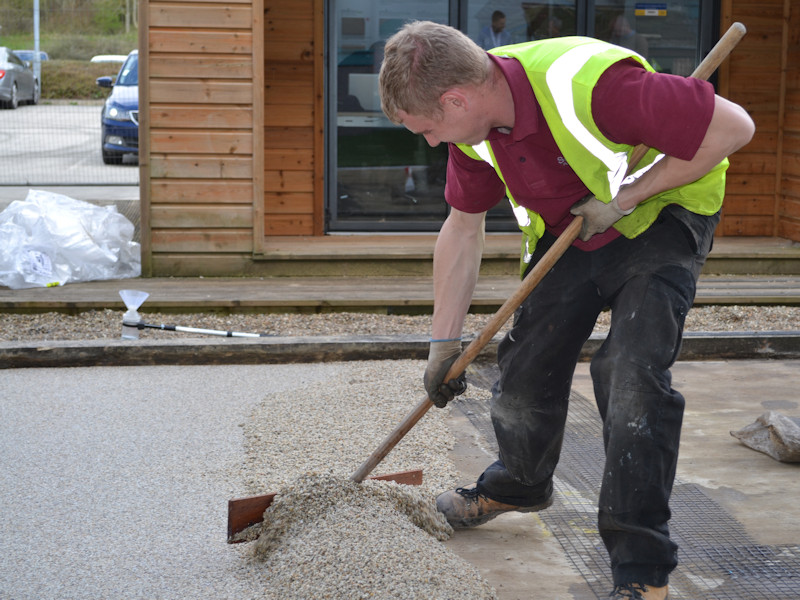
The aggregate is then worked back and forward, side-to-side, from a number of different angles using a lute to evenly spread the material while achieving a level surface. This is very similar to the way in which a bituminous wearing course material ("tarmac" to the non-trade readers) is worked prior to rolling.
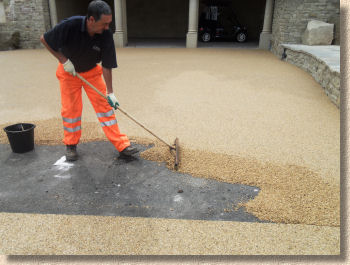
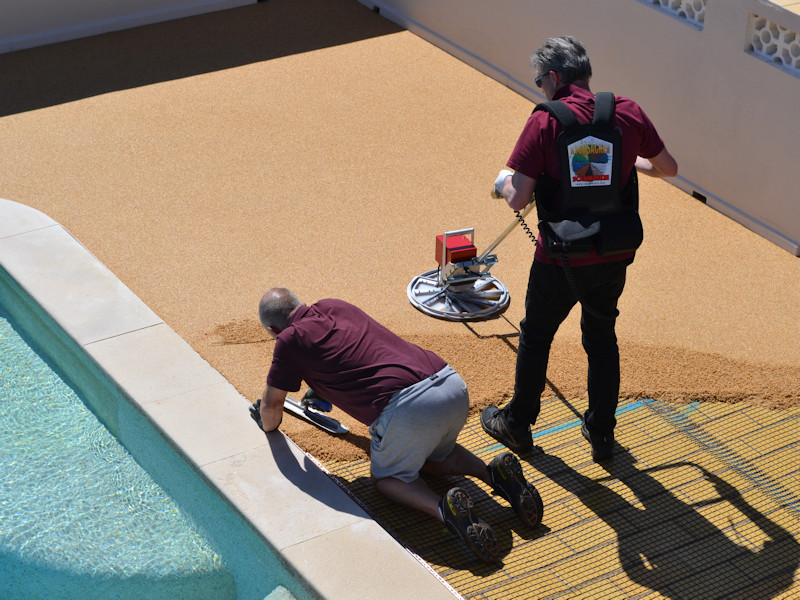
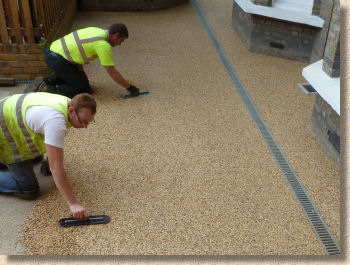
However, unlike a bitmac, the resin bound material is not rolled, but is floated, that is, it is pressed and rubbed smooth with a bull float trowel, to create a smooth, even, tightly knit surface. The float operative will also work to fill any minor hollows or eliminate any minor humps that have been missed by the lute, as well as working the material close up around any access covers, lighting columns, sign-posts and the like.


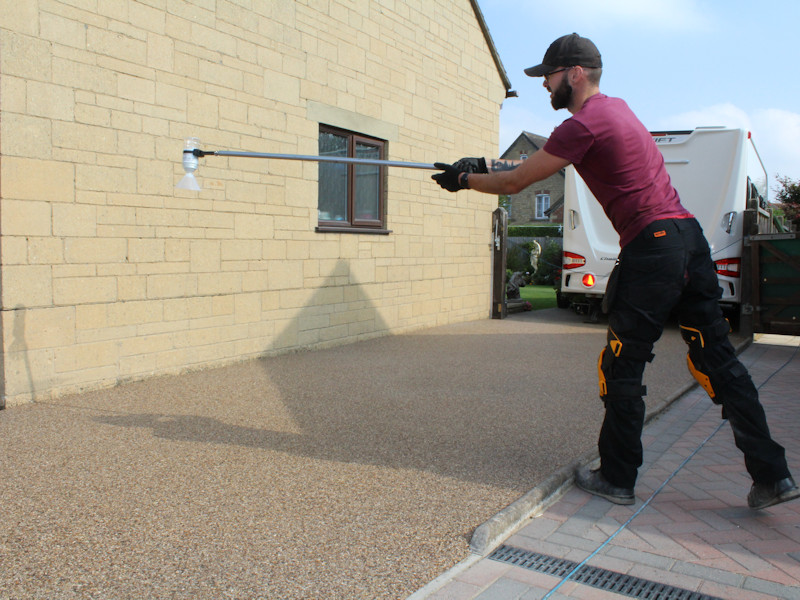
Once trowelled smooth, the resin may be lightly sprinkled with an exceptionally clean silica sand to reduce any surface tackiness and, more importantly, to enhance traction of the surface for foot and vehicle traffic alike during the first few weeks of use.
And that's it. The actual curing time varies from job to job but in roughly six hours it will be usable by pedestrian traffic, although SureSet advise that the surface is given 24 hours before being trafficked by vehicles.
Tools are cleaned with white spirit which acts as a slip coat for the resin mix until it has cured, after which it becomes immune to white spirit or any other oil-based solvents.

Video:
Further resources:
Further information on SureSet's surfacing products and services are available from the website


SureSet
Unit 32,
Deverill Road Trading Estate,
Sutton Veny,
Warminster,
Wiltshire
BA12 7BZ

Tel: 01985 841180


Download a PDF Booklet of the SureSet Self-Install brochure for Supply Only Customers
Download a PDF Booklet of the SureSet Trade Shop for Supply Only Customers
Installation Guides:
Other SureSet Pages on this site...