
Refurbishing a block paved driveway
This page is one in a series which documents the refurbishment of an existing block paved driveway. Although the page can be read as a standalone article, it will probably make more sense if read in conjunction with the associated pages listed below.
Part 5: Replacing Crumbled Fillets
The Problem
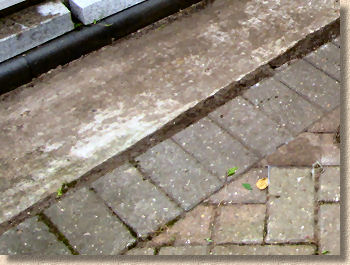
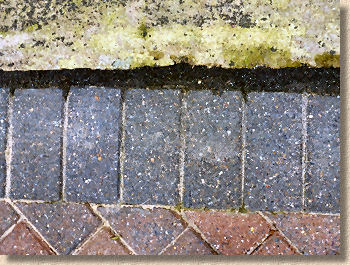
On many block pavements, there are places where, for all sorts of reasons, it was not possible to complete the paving with blocks and a mortar or concrete fillet has to be used instead. Typical instances of this problem can usually be observed around ironwork (manhole covers, gully gratings and the like) and against irregular retaining masonry, such as stone walls or fence lines. On this driveway, there is one noticeable fillet along one edge where the paving abuts a pre-existing concrete base that is not quite parallel to the paving layout. This long, wedge-shaped gap, which ranges from zero to roughly 50mm, had been filled with a black cement mortar which has, over the years, perished to a state of being barely competent. It's arguable that the weeds were actually the only thing holding the mortar in place.
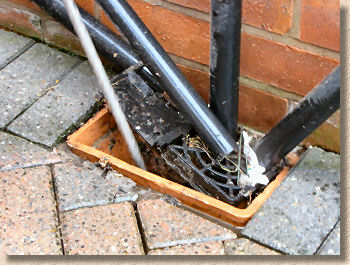
Elsewhere on the driveway, there are also minor fillets around gullies where it would have been impossible to cut small pieces to fit, and benching over a double hopper where one side of the fitting needed to be sealed. In all these locations, the original mortar would be broken out and replaced with a jet black resin mortar that should easily last as long as the pavement is in use and not lose any of its colour in the interim.

Rake Out
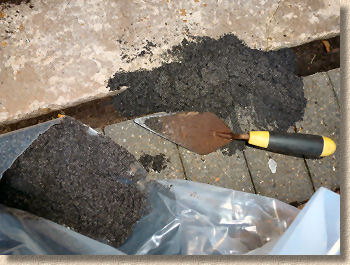
The resin mortar needs to be placed to a depth of not less than 30mm, and so the existing 'mortar' (if we can still call it that) will need to be broken out (well, scratched out, at any rate) and removed to make way for the new stuff. If there was any real strength to the old mortar fillets, a hammer and chisel may have been necessary, but such was the poor condition that it was possible to dig out using nothing more brutal than a small trowel.
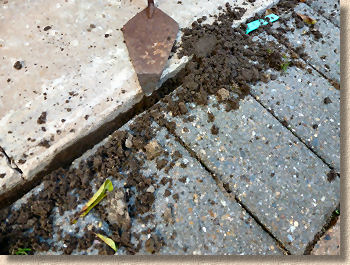
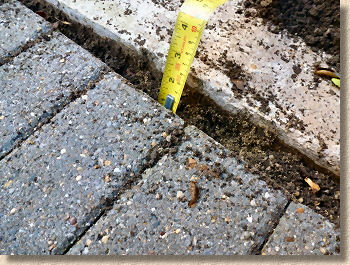
The loosened 'material' was removed and the resulting gap cleaned using a small hand brush to eliminate any loose detritus. The depth of the gap was checked to ensure the minimum recommended depth of resin mortar was possible.
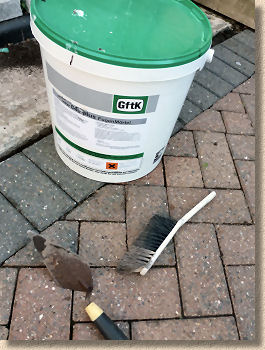
The replacement mortar
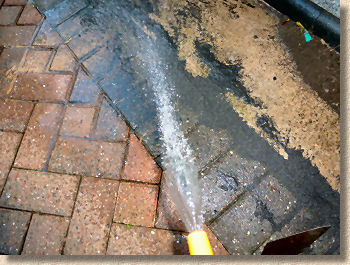
The resin mortar is a proprietary product used on previous patio refurbishment projects and covered in much greater detail elsewhere on the website. Although the mortar is an air-cured product, it can be washed-in if preferred, which we find tends to give a better result. So, it is simply a matter of filling the gap with the resin-coated mortar, using a hose to wash it in, and then smooth off using the trowel. 24 hours later, it would be sufficiently hard to withstand brushing and pedestrian traffic.
The same procedure, more or less, is repeated wherever other fillets needed replacing. The old rubbish is hacked out, the gap is cleaned and the depth checked, the resin mortar is washed into place, and smoothed off with a towel before being left overnight to harden.
Does it get any easier?
Read more about the VDW 840+ resin mortar elsewhere on this website