More DIY jobs....
Project 7 - Creating a special garden feature
Roger Bentley fancied having a go and sent in the following...
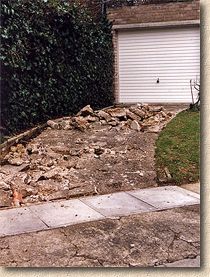
Drive 2: Clearing the rubble. String line shows the area to be widened to accomodate 21st century cars (Not that I've got one!) After removing the larger rubble and profiling to the required depths, the finer rubble was compacted into the clay sub-grade to consolidate it. Seemed like a good idea at the time!
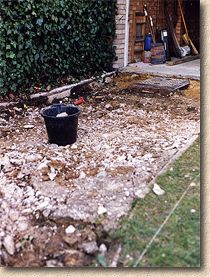
Drive 3: Laying the Type 1 sub-base.
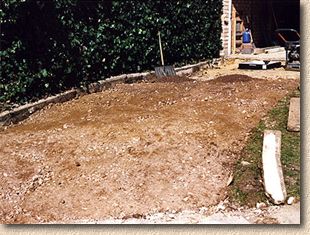
The left-hand edging was left in place as it was quite solid. The right-hand edging was then haunched onto the compacted sub-base. New block-pave drain cover in place of old cast-iron jobbie.
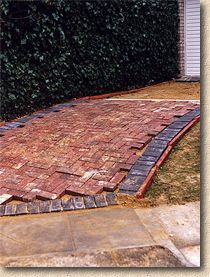
Drive 4: The fun bit!
After all the arduous prep work, the "big lad's Lego" can be started! Tony's method of pre-compacting was used. Notice the complicated profile, widths and angles I had to contend with, in order to follow the contours and allow a flat area at the top for parking on. Charcoal soldier course by the garage was bedded in mortar to give the required angle up to the raised garage screed.
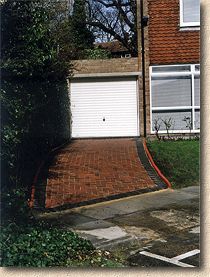
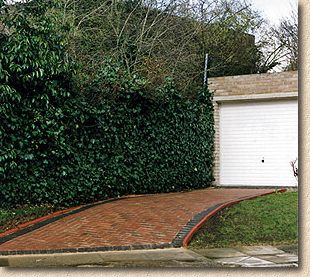
Drive 5: The finished job after a rinse down!
Needless to say after all the hard work, I'm extemely happy with the result. Only 2 blocks failed to bed down properly after jointing sand and vibrating phase. They went deep on one edge due, perhaps, to some slight density/humidity difference in the sand layer and were replaced. I have had many positive comments on the drive and most people are completely surprised when say I did it single-handed. Well, not quite. With the "cyberspace"assistance of Tony McCormack! I always direct people to www.pavingexpert.com so that they can see the wealth of information that is there.
Other DIY block paving projects featured on this site....
- Project 1 - New concrete block driveway
- Project 2 - Clay cobble patio
- Project 3 - Replacement concrete block driveway
- Project 4 - Upgrading the basic 'two-strips' driveway
- Project 5 - Circular Garden Feature
- Project 6 - An Irish Patio
Want to add your pictures to these pages? Send your jpegs and a description of the fun you had to Tony at the usual address... info@pavingexpert.com