Introduction:
In an imperfect world, paved areas are sometimes changed. One fairly common request is for an existing area of block paving to be extended. Maybe the driveway was only a single car width and then household now has two or even three cars, or perhaps an area within a civic square has becomes so badly stained with takeaway fast food grease that it's an eyesore and the council want to replace it.
The problem arises because it's virtually impossible to match existing block pavers. Even if you identified the original block type, the colour and the manufacturer, you could most likely not achieve a match for all sorts of reasons....
- - the manufacturers constantly tweak their mix recipes so the concretes change over time
- - the colour and type of aggregates, cements and dyes used by the manufacturers change over time
- - weathering: the existing blocks will have faded in UV light and been scoured by wind and rain
- - trafficking: the existing blocks will have abraded due to foot and vehicle traffic


Randomise:
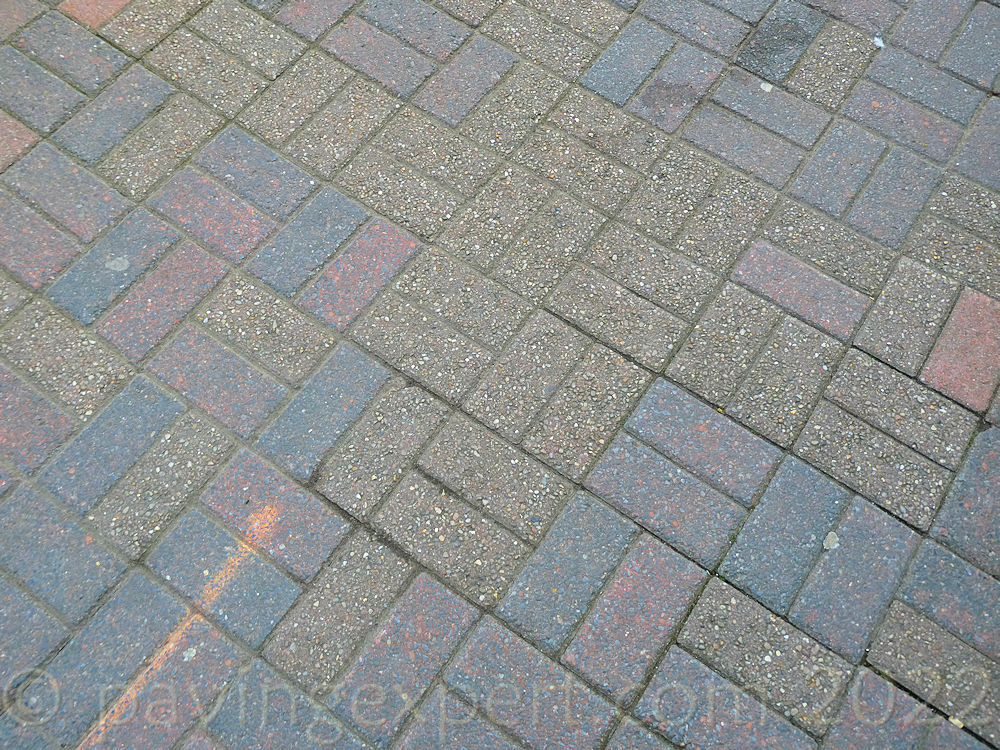
Often, the best solution is to lift the existing blocks and randomise them with the new blocks, re-laying the lot over the entire area. This will give a more mottled appearance, but one that is homogenous.
Obviously, this technique only works when both the existing and the new blocks are of the same thickness. Some older block pavements used the 65mm blocks that were common during the 1980s, so extending such areas with modern 60mm or even 50mm blocks would not suit this randomisation technique because of teh variation in screeded bed height required. Where the new blocks are of a different depth to the existing, it is usually easier to adopt and adapt the highlighting technique described below.


Highlight:
The other option is to highlight the difference by, for example, putting in a break band of contrasting colour between new and old, so making it appear that you have deliberately intended it to be that way.

In the image above, an existing area of older block paving, to the right, has been extended with newer blocks on the left, and there is an obvious mis-match. The older blocks are worn, weathered, visibly darker, and for the ultra-observant, even the aggregate is different.
It's pretty obvious, even to the proverbial blind man on a speeding mortorbike, that the new do not match the new.

A useful strategy in such situations, where the extended area will be so apparent, is to emphasise the change rather than attempt to hide it.
In the doctored image above (I couldn't persuade the site owner to have the blocks actually changed!), a 200mm wide band of a contrasting block is installed between the old and the new, and the two are kept separate.
The fact that the two areas of blocks are indeed different is now of no consequence. It looks as though this was a deliberate design choice, rather than a 'fix' to make good a stark difference in appearance.
In the following example, which again relies on a 'doctored' image, an area of paving at a fuel station has been replaced to accommodate a new access cover. Just why the original paving was not retained for re-use is not known, but this is precisely the sort of thing that happens on these projects: a civils contractor comes in, rips up everything in their way, loads it into a cart-away wagon, and then can't match the original paving ponce work is reaching completion. Brilliant!
The new paving has been laid to an amorphous blob shape with no regard for aesthetics...

With a little bit of thought, and (admittedly) a little bit of additional work, the retained old paving top left could have been taken up and re-used in the centre foreground, allowing the new paving to be laid as a single rectangular block around the access cover.
The poorly doctored image shows what could have been done, even if the patterning doesn't quite match due to the limitations of my Picture Fixing skills....

In this final example, an area of paving at the junction of two pedestrianised streets has been patch repaired and the blocks don't quite match. It's not too startling a contrast, but it is apparent and again, with a little bit of thought and planning, it could so easily have been avoided...

Again, the use of a basic geometric shape could have turned this unfortunate but necessary repair into something more akin to a feature rather than a forced patch-up.
In this case, perhaps a diamond shape would have helped hide the discrepancy....

Summary:
Extensions, additions, re-modelling, remedial works, basic maintenance...there are dozens of reasons why block paving may need to be re-laid, and that's all part of its appeal. Unlike so many other monolithic surfaces, block paving *can* be re-laid, and with comparative ease.
But that shouldn't mean it is just plonked down any old way, as long as the ground is covered. A little bit of thought and consideration can ensure that re-laid, repaired or extended block paving can look as good as new with no need to signal any modification has taken place.