Introduction:
Far too often, it is undertaken as an allegedly simple alternative to more traditional paving, or because broken flags are free or cheaper than intact units, yet, from a contractor's point of view, it costs more in terms of labour to lay a given area of crazy paving than it does for 'normal' paving.
One eejit who once worked for us but shall remain nameless, realising that crazy paving was damned hard work, came up with a novel way of creating the look of crazy paving with less of the hassle. He laid second-hand 'council' flags all over his back yard, making sure they were on a decent bed and falling in the right direction, and then proceeded to smash them, in situ, with the aid of a sledgehammer. Naturally, he didn't last very long in our employ!
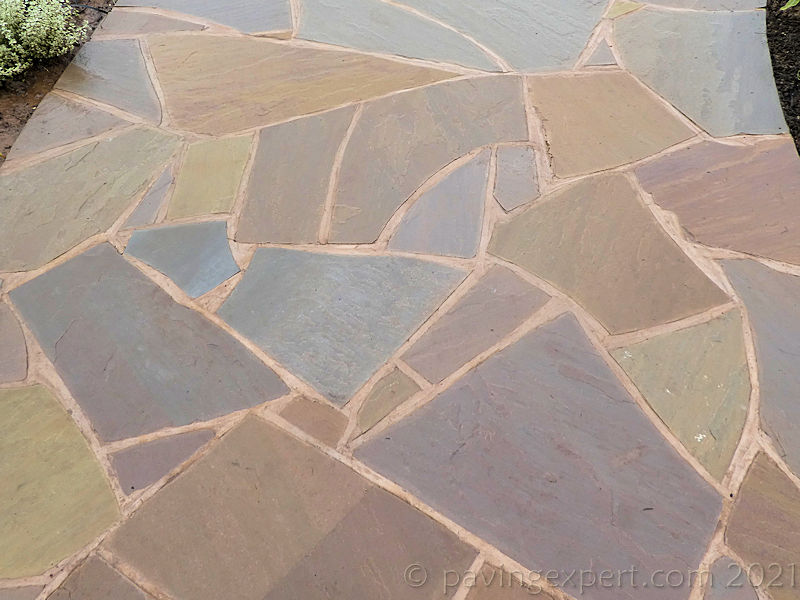
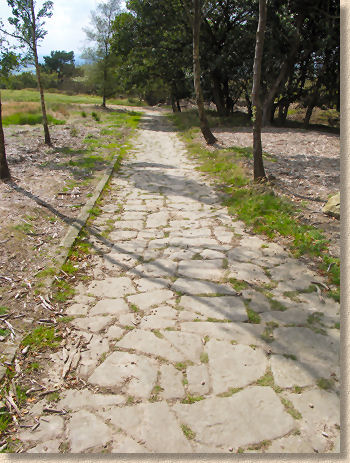
Well-laid Crazy Paving minimises the amount of mortar or jointing visible at the finished surface. The mortar is the structural weak point of the pavement, so, the less of it there is, the better the finished work's chances of survival beyond the first winter.
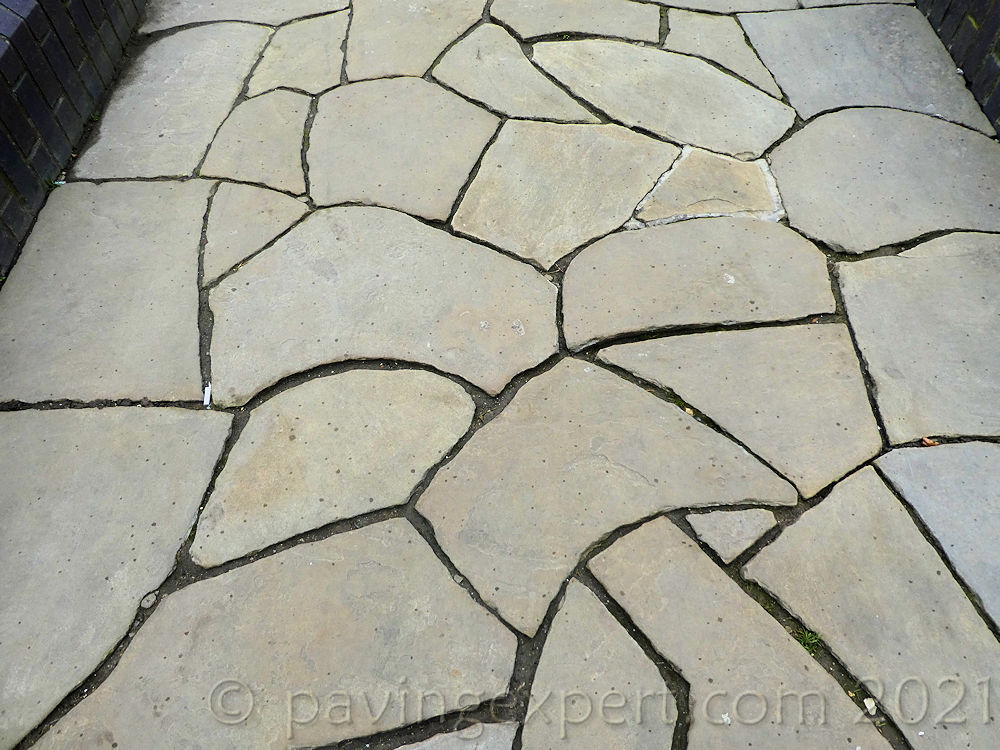
All too often, Crazy Paving is badly laid, with great dollops of mortar between the pieces of stone and the whole lot fails within a couple of years.
Types of material
Most crazy paving is laid using a stone or concrete paving that is non-rectangular. This may be because the chosen material is naturally irregular in shape, such as some paving stone or slate, or because it is 'broken' material, most often concrete flags.
In nearly all cases, crazy paving is best laid on a cementitious bed. This helps ensure the small and irregular-shaped pieces are held firmly in place and do not become loose. We normally recommend laying on a 50mm thick bed of 10:1 semi-dry grit sand and cement, as described on the Mortars page, and then using a wet grout to seal, as illustrated on the Pointing page.
If crazy paving is being used to carry vehicles, such as on a driveway or forecourt, we would normally lay the paving on a 100mm thick bed of C20 concrete, with movement joints installed exactly as they would in a 'normal' concrete slab. However, for patios or other lightweight applications, a 50mm thick bed of the 10:1 bedding mix is usually sufficient. Any 'make up' in level required between the prepared sub-grade and the bedding layer can be done with more bedding material or with a good sub-base material, such as DTp1.
See construction drawings at the bottom of this page.
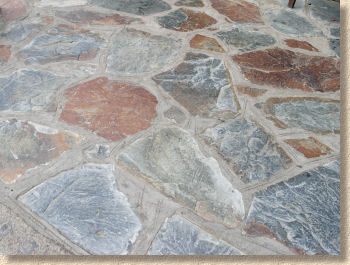
Fairly well laid, but no contrast between jointing and stone
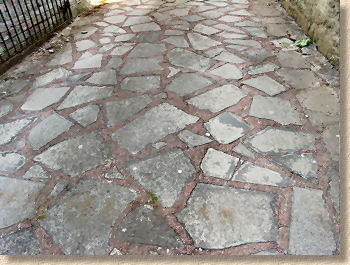
Wide joints reveal too much mortar
Laying Methods
With stone and slate, there is often a variation in thickness of the pieces that adds yet another challenge to the laying process as they will need to be individually bedded. Concrete flags of a regular thickness can be laid on a screeded bed to accelerate the laying process and aid accuracy.
The chosen paving material has to be sorted, and the best or most appropriate pieces selected and laid, one at a time. Each individual piece needs to be kept as tight to its neighbours as is possible to keep the amount of mortar pointing to an absolute minimum. Often, to achieve this, the rubble has to be trimmed or shaped with hand tools to get a reasonable fit and avoid those unsightly 100mm wide dollops of glaring mortar.
Individual bedding
A bed is prepared for each piece as it is required. The bedding material may need to be shaped or hollowed to accommodate the paving piece, which should be consolidated to the required level using a mall or rubber hammer before moving on to the next piece.
Each piece should be tested to make sure it isn't rocking or moving; if there is any movement, pack more of the bedding mix beneath the piece until it is firm. Individual bedding also requires constant checking of levels, either by using taut string lines or straight-edge timbers, to ensure no hollows or peaks are inadvertently formed.
Screed bedding
This method can only be used with materials of a regular thickness. The bedding material is levelled out, as described on the Screeding page, so that it is at the required level to accommodate the paving pieces and allow for consolidation. So, for example, a 50mm thick piece of concrete flagstone may need a bed that has been screeded to a level that is 35mm below finished pavement level, because the bedding consolidates by 15mm.
With this method of laying, we find it best to partially compact the bedding material before laying, by trampling with boots or making a couple of passes with a vibrating plate compactor, screeding off to the required level, and then loosening the top 15-20mm or so with rake to provide some 'give' to allow the paving pieces to be 'bedded in'.
Once the screeded bed is prepared, the paving pieces can be positioned, jigsaw-wise, to achieve a 'best fit' and the consolidated using a mall, a rubber hammer or even running over a few times with the plate compactor. Again, checks for level should be made to ensure compliance, but, with regular materials on a screeded bed, significant deviation from required level is much less likely than with individual bedding.
Pointing/Jointing
As mentioned above, the easiest way to joint crazy paving is to use the wet grout or slurry method described elsewhere on the site. However, these methods may not be feasible with certain materials, especially rough stones and some slates. With these materials, it may well be a matter of down on the hands and knees to hand-point the lot, and, if you thought the jigsaw placement of crazy paving was mind-numbing work: prepare to be stupefied!
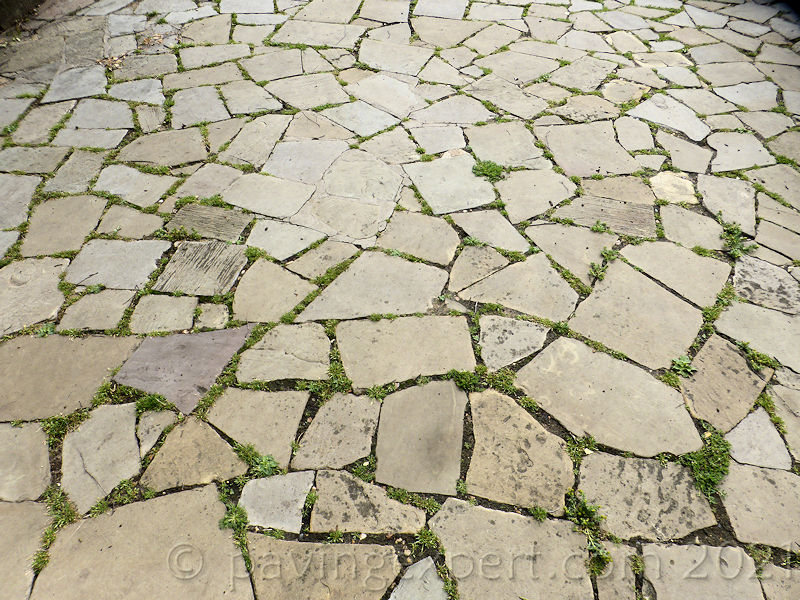
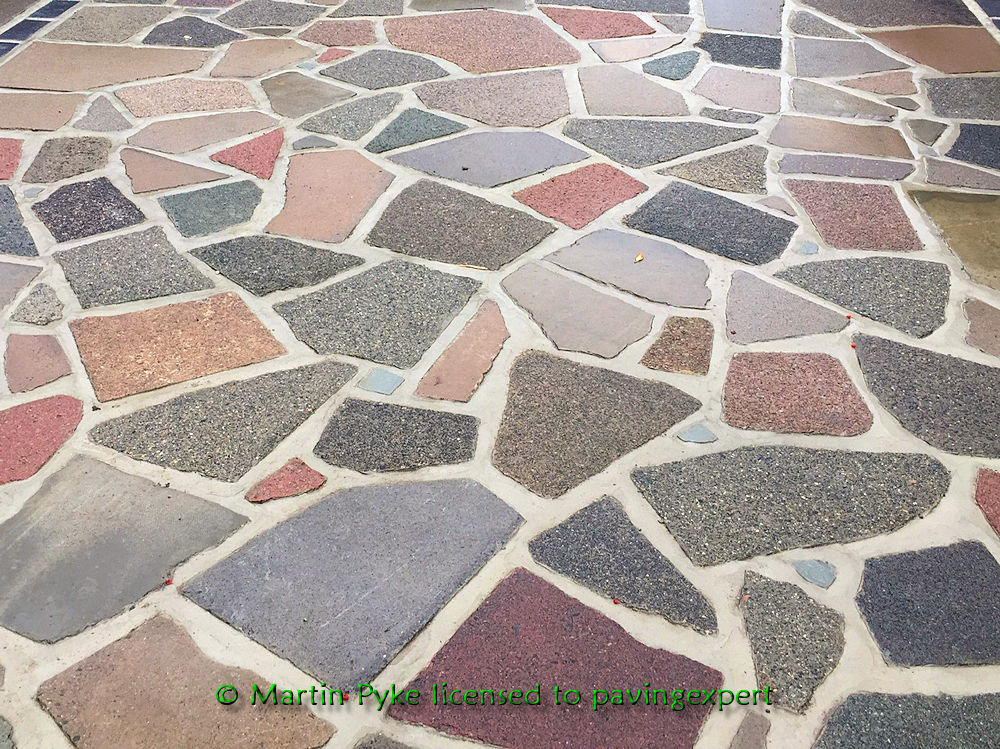
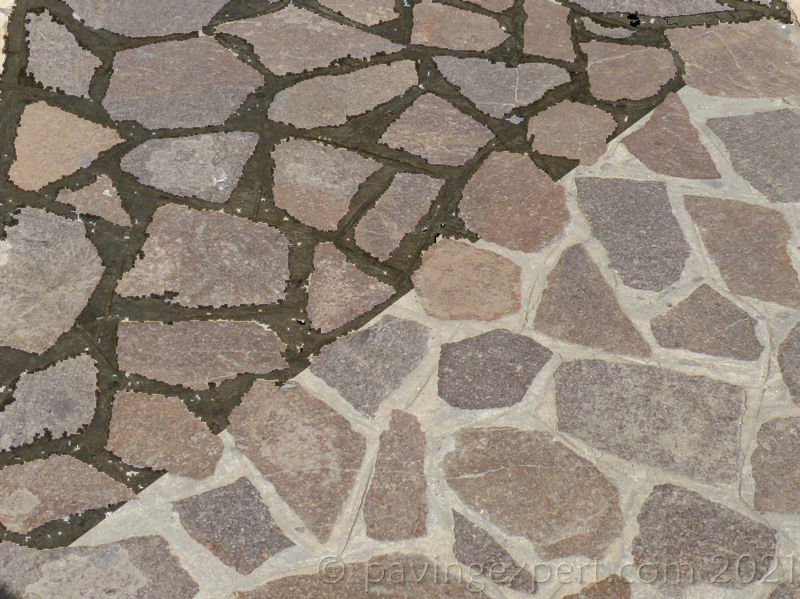
With cement mortars, we would typically add a strengthening additive (such as SBR ) to the Class II mortar mix to ensure firm bonding to the pavings. It is important that the mortar is thoroughly packed down into the joint and that no voids are left. Also, a darker mortar looks much better than the more usual plain mortar, as illustrated in the photograph opposite, where a plain 'white' mortar has been used, but it doesn't accentuate the lovely stone pavings as a dark or black mortar would.
Whichever method is used, the top of the joint should be smoothed-off flush with the pavement surface although some clients prefer a 'struck' joint, that is a joint where the outline of the paving piece is marked with the angled edge of a trowel. We find that while this can look neat and attractive for the first few months, it soon provides the ideal refuge for unwanted detritus and weeds.
Construction Diagram